
What you need to know
- Identify the main parts of a light microscope and state their functions.
- Prepare and observe a temporary slide safely.
- Focus a specimen from low to high power.
- Produce a valid biological drawing with a scale.
- Compare light and electron microscopes.
Parts of a light microscope
| Part | Function |
|---|---|
| Eyepiece lens | Magnifies the image for the observer, commonly ×10. |
| Objective lenses | Provide different magnifications, for example ×4, ×10 and ×40. |
| Stage | Supports the slide; clips hold it in place. |
| Light source or mirror | Illuminates the specimen from below. |
| Coarse-focus control | Moves the stage or lens by a large distance for rough focusing at low power. |
| Fine-focus control | Makes small adjustments to sharpen the image. |
Eyepiece magnification × objective-lens magnification. A ×10 eyepiece with a ×40 objective gives ×400 total magnification.
Preparing a temporary slide
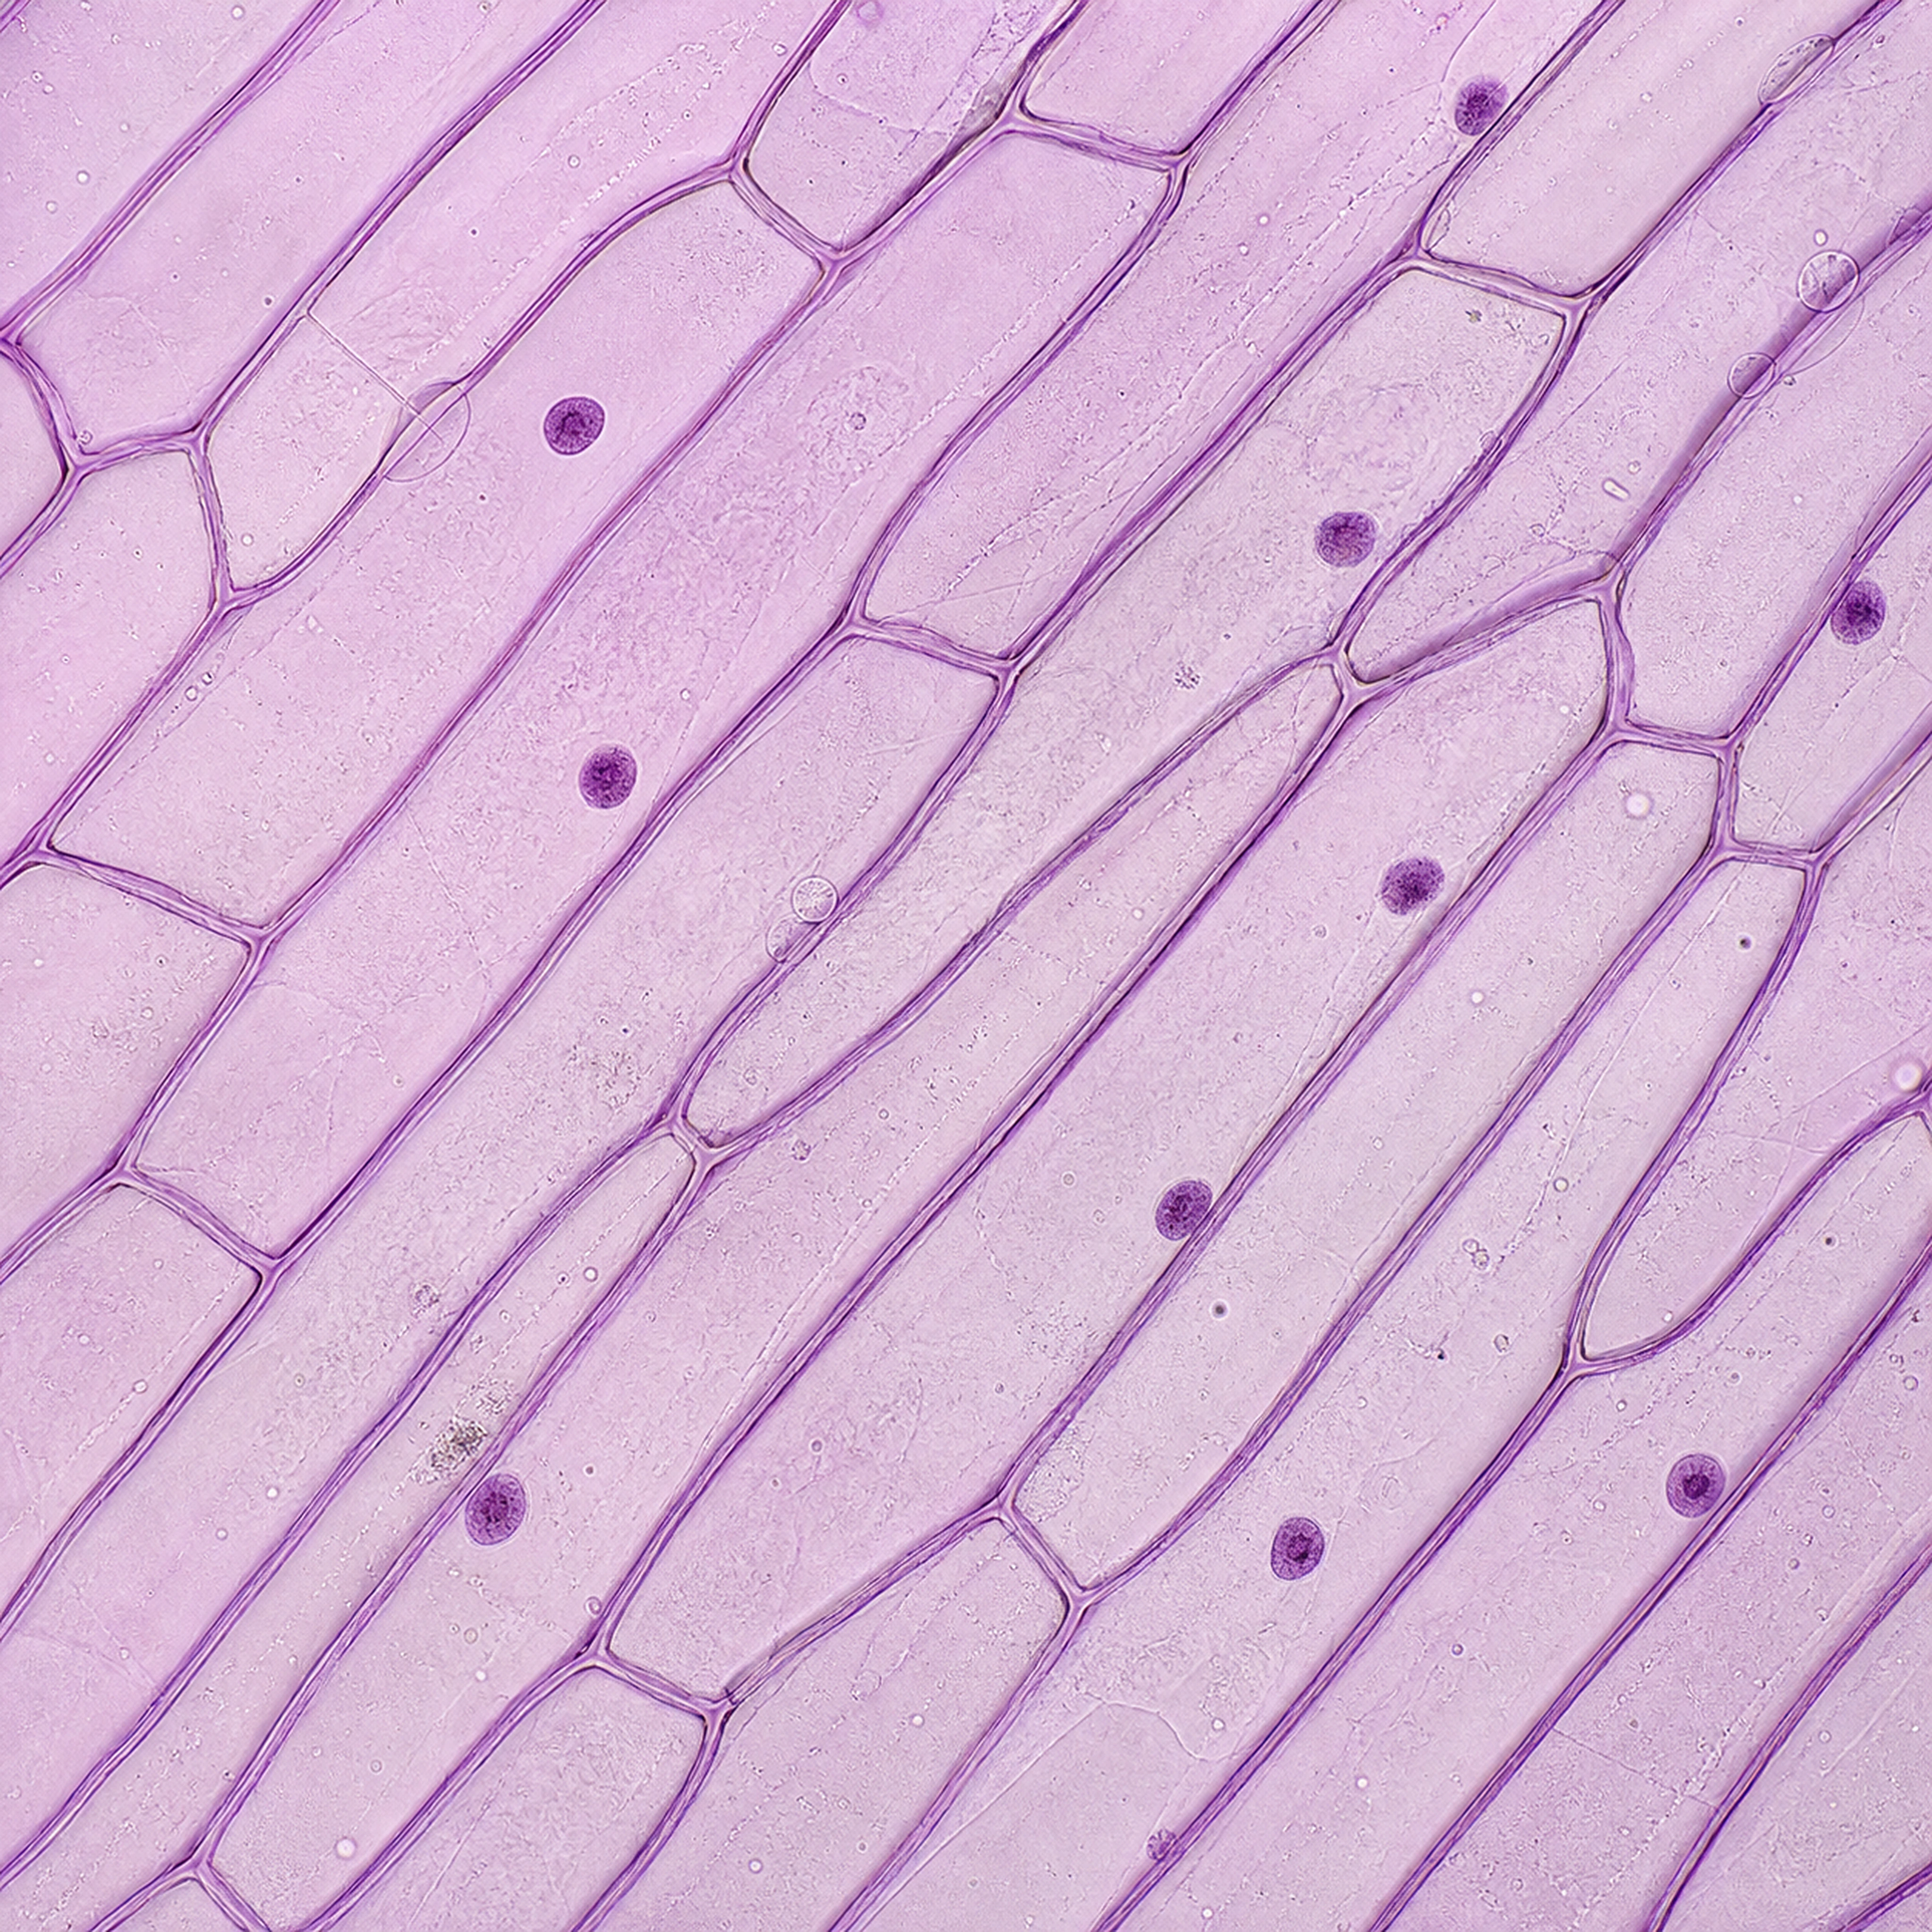
Onion epidermis can be stained with iodine solution. Cheek cells can be stained with methylene blue. A stain increases contrast, making otherwise transparent structures easier to see.
This reduces the chance of trapping air bubbles. Bubbles can obscure cells or be mistaken for structures.
Wear eye protection when using stains, handle glass slides carefully and use a sterile cotton bud for cheek cells. A cheek-cell sample should be taken gently from the inside of the student's own mouth and the cotton bud disposed of safely.
Focusing the specimen
- Rotate the lowest-power objective into place.
- Place the slide on the stage and centre the specimen over the light.
- While looking from the side, bring the objective close to the slide without touching it.
- Look through the eyepiece and use coarse focus to bring the specimen into view.
- Use fine focus to sharpen the image and adjust the light if necessary.
- Centre the area of interest before moving to a higher-power objective.
- At high power, use fine focus only.
Misconception AlertStart with the highest-power objective so the specimen is easier to find.Select to reveal the correctionSelect to hide the correction
Begin with the lowest-power objective. Its wider field of view makes the specimen easier to locate and focus.
As magnification increases, the field of view becomes smaller, the image often becomes dimmer and fine focusing becomes more important.
Producing a biological drawing
- Use a sharp pencil and clear, single lines.
- Make the drawing large enough to show detail.
- Draw what you observe, not an idealised textbook cell.
- Do not shade or sketch.
- Use straight label lines drawn with a ruler.
- Do not let label lines cross.
- Give the drawing a descriptive title.
- Include magnification or, preferably, a scale bar.
If asked to draw a group of cells, show how the cells join and preserve the relative size and proportions of the structures. A scientific drawing is evidence, not decoration.
Light and electron microscopes
Magnification tells you how many times larger the image is than the object. Resolution is the ability to distinguish two close points as separate. Resolution determines how much useful detail can be seen.
| Feature | Light microscope | Electron microscope |
|---|---|---|
| Radiation | Visible light | Beam of electrons |
| Magnification | Lower | Much higher |
| Resolution | Lower | Much higher |
| Specimens | Can observe living specimens | Specimens are dead and specially prepared |
| Detail | Cells and some large organelles | Much smaller structures and internal detail |
Electron microscopes increased biological understanding by revealing finer subcellular structures that light microscopes could not resolve.
Quick retrieval check
1. Why should focusing begin with the lowest-power objective?
2. Why is a stain used?
3. State three rules for biological drawings.
4. What is the difference between magnification and resolution?
Exam connection
A student can make a cell image larger on a computer screen, but no additional detail becomes visible. Explain why.
Show the mark points
- The displayed image has greater magnification.
- The resolution of the original image has not increased.
- No additional information was captured, so close structures still cannot be distinguished.